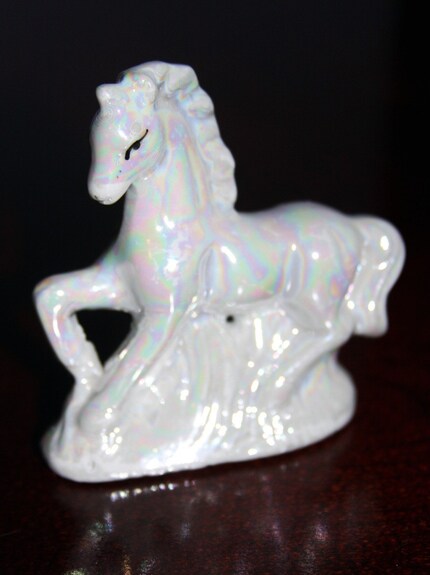
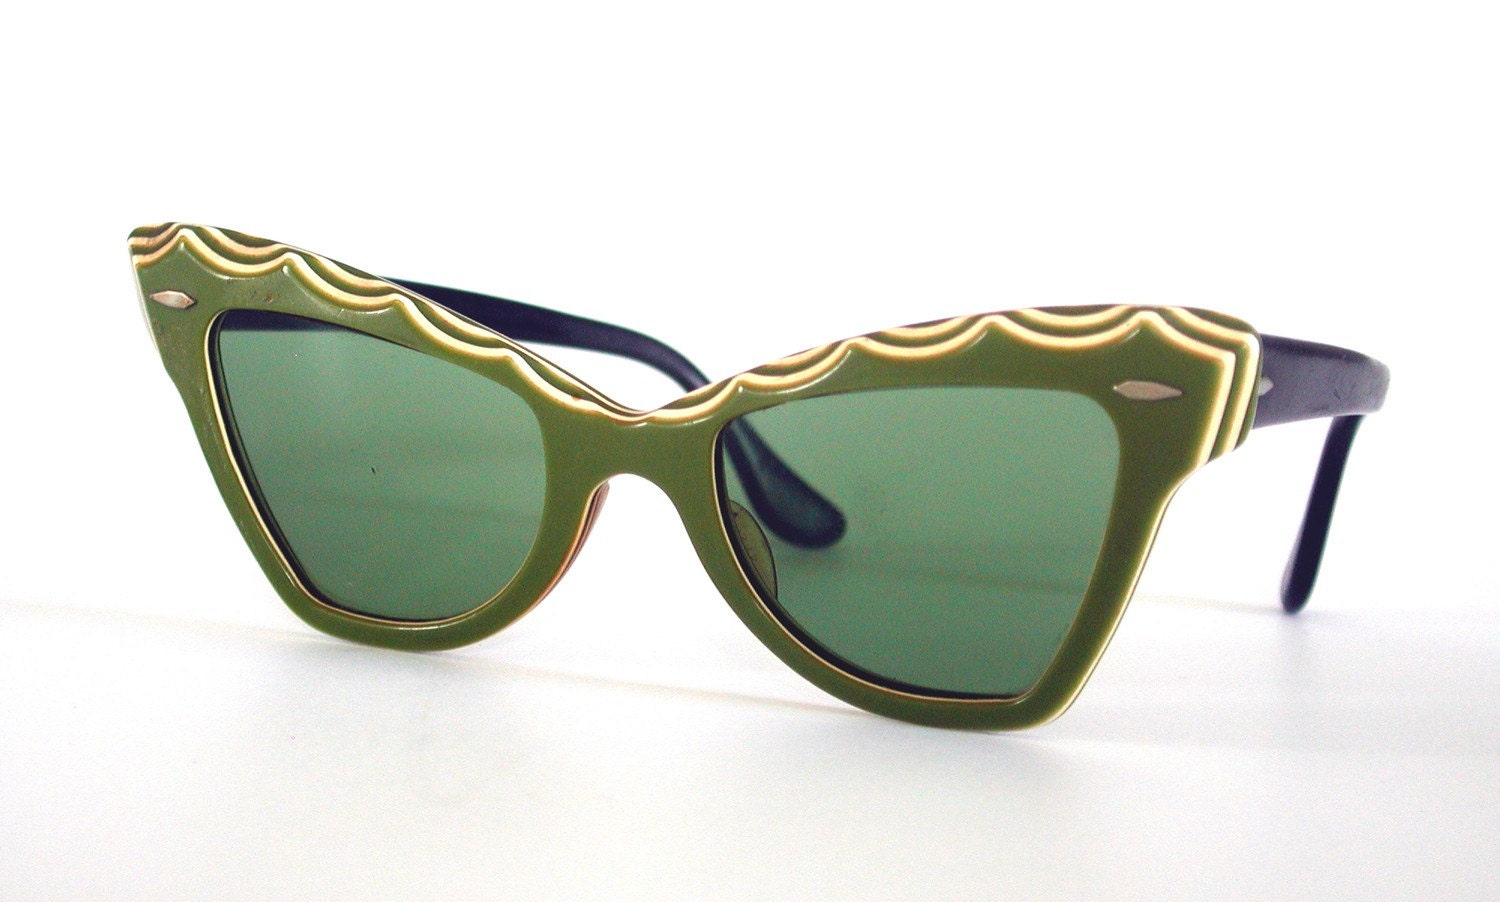
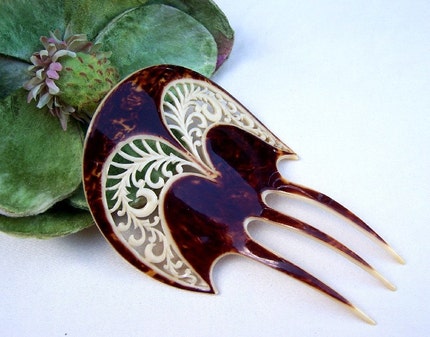
I was going to go with wrapping the items in tissue paper and placing them in simple brown paper bags stamped with my logo but apparently they don't sell paper bags in Montreal anymore. So in an effort to, as proposed by Craftster.org, 'DIYour-own-damn-self' I made my own. They turned out so cool I've horded some of the cuter ones for myself (to, like, look at and squeal or whatever..)
Books or magazine pages are the perfect size and shape (rectangular) for making these: you can find lots of used ones for cheap and chances are you already have lots at home, some of which would greatly benefit mankind if they're used for anything but reading (Reader's Digest condensed novels anyone?). My favorite is vintage childrens books with their colorful illustrations. You can be really cheap and buy the sad broken ones in the bargain bin which is where I found this one which is ironically about an injured chipmunk. Don't cry little chipmunk, I will save you! And make a gift bag out of your paper corpse...
Other materials:
*Tape (glue stick if you also happen to have it)
*Finger nail, butter knife, or other hard flat stick thingie to make those folds extra crisp.
*Best of all, no template!
Note - It's better to avoid reading the instructions I provided which barely make sense to me and just focus on the pictures, much less confusing :P
1 Fold your paper to join both short sides in the middle. I use tape on the entire length but you can also use a glue stick if you make sure to have one side overlap.

2 Folding what will be the bottom of the bag. The size of the tab folded will be equivalent to the size of the bottom of the bag. I like to fold the bottom 1.5 inch since anything smaller tends to be difficult to work with once you get to the smaller folds.

3 What's going on here? Basically you want to fold open that tab you just made and end up with two triangles at either end. You want to make sure to align the crease in the middle of the triangle with the fold made previously. Here's one fold completed:

4 Both folds completed:

5 This is where it starts looking familiar. Fold the top and bottom edges to meet in the center making sure all the creases are perfectly aligned.

6 I prefer not to overlap the pieces which tends to distort the shape of the bag so I use tape along the length of the completed bottom. Make sure there isn't any space between the edges so you don't end up taping the bottom to the inside of the bag.

7 The next step is getting the neat folds going up and down the bag. Fold one of the outer edges inwards making sure the points align and the width is constant (perpendicular) on the entire length or your bag may become a 'work of art'.

8 Turn the bag over and fold the same edge you've been working on in the opposite direction. Repeat with the other edge.

9 Now gently pop open the bag. You will have to play around with the creases to get them folding in the right directions. The center crease should fold inwards.


http://thescentofwater.typepad.com/thescentofwater/gift-wrapping/
Here's another version that skips step 1 by using envelopes:
http://howaboutorange.blogspot.com/2009/03/gift-bags-made-from-envelopes.html